See our previous cosplay projects and hear directly from the people who commissioned them.
Every project is unique, from small props to full costume pieces. Below you’ll find completed work, customer feedback and behind-the-scenes progress photos to help you understand the quality and level of detail you can expect from NoahPrints.
My first project for my first customer:
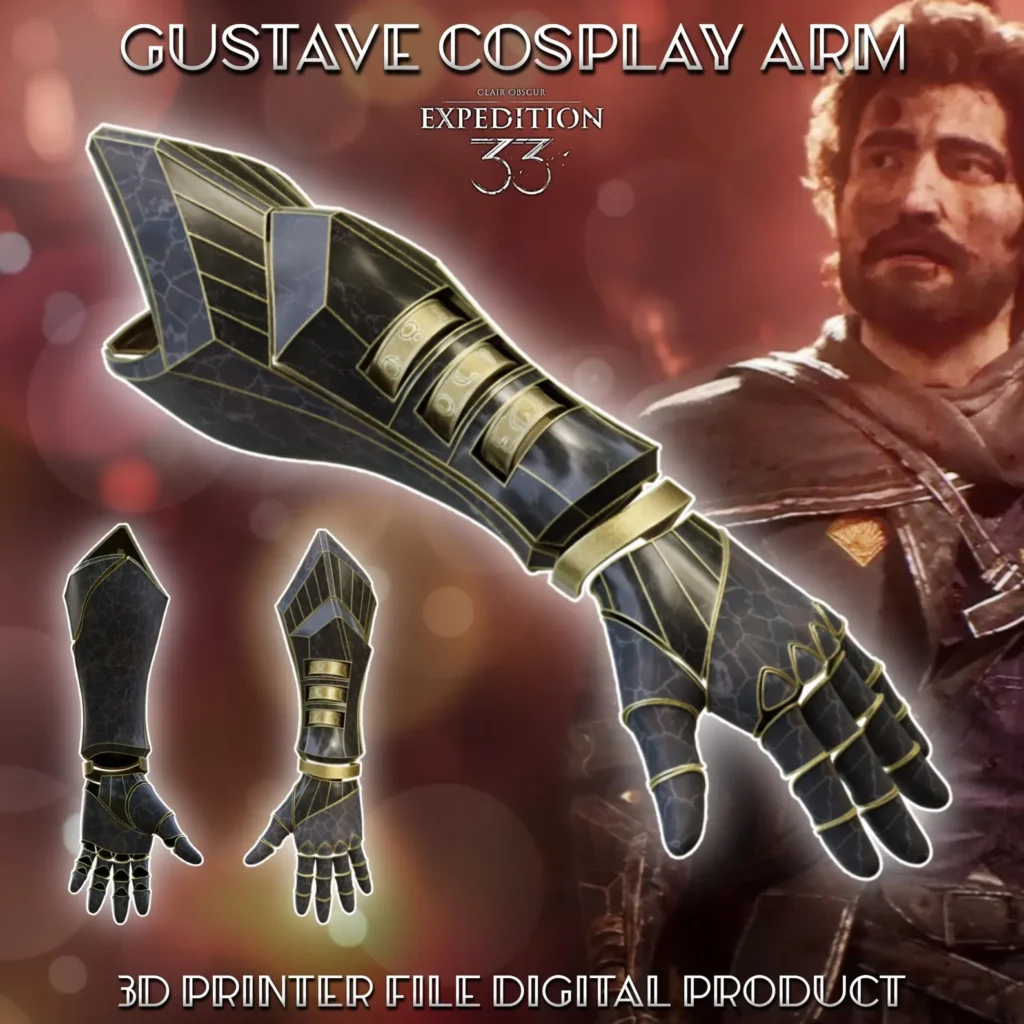
I stumbled across the Reddit post by Milano, looking for someone to 3D print his Cosplay project. I couldn’t be more excited to have such an opportunity drop on my lap, literally. After communicating that this will be my first official project, before I finished my website, I matched a quote to really grab this chance. And what a learning curve it was. From using a different filament to ensure supports were the best they could be, to slicing a piece into 2, ensuring better finish quality on both the top and bottom of the object, gluing the pieces together during post print care.
Pre-Print care
Before a single part is printed, I spent time making sure we’re both working towards the same goal. Clear communication is one of the most important parts of the process. We discussed the intended use of the print, the level of detail expected, and any trade-offs between print quality and durability.
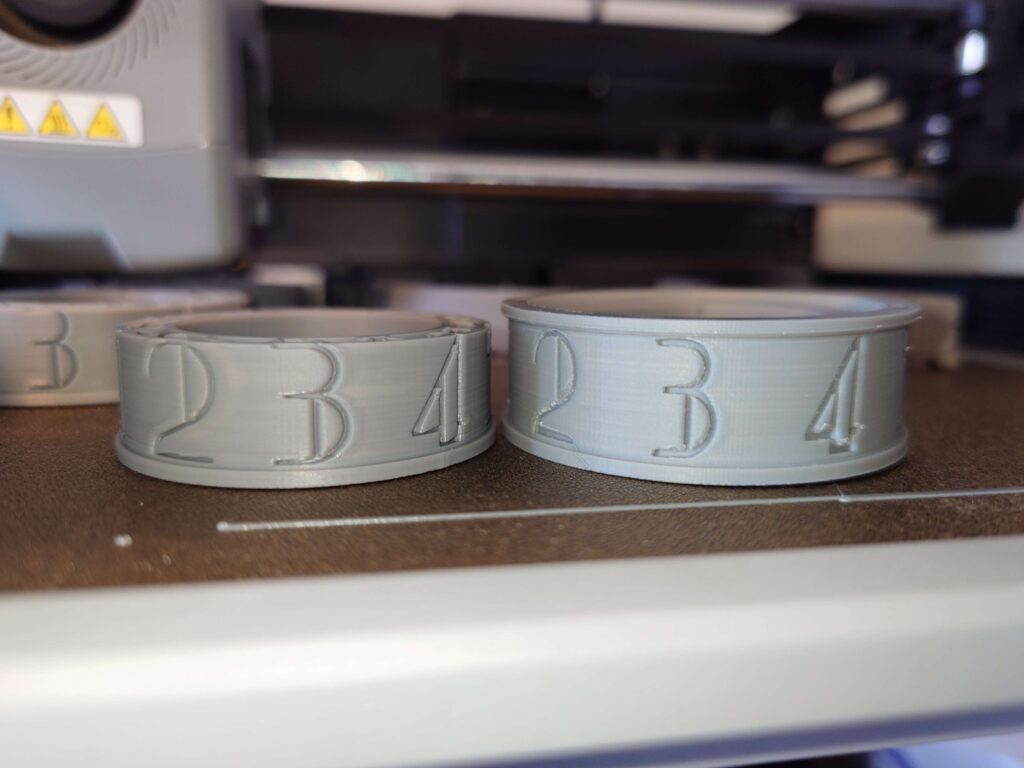
For Milano’s project, we talked through the different nozzle sizes and layer heights available, along with the benefits and drawbacks of each. Rather than expecting him to simply trust my recommendation, I printed a sample piece using a finer 0.25mm nozzle so he could see the difference for himself. This gave us confidence that the extra print time would be worthwhile for a display-quality cosplay piece.
0.25 vs 0.4mm nozzle quality
We discussed which nozzles I advised we print with to get the finer details. This pushed the print time up but when I want to be a cut above the average printer, and Milano wants a cosplay piece that he will be proud to show once painted, it’s 100% worth that extra bit.
Side-by-side comparison using a 0.25 nozzle with 0.08mm height layer lines vs using a 0.4mm nozzle with the same layer line height.
Re-sizing
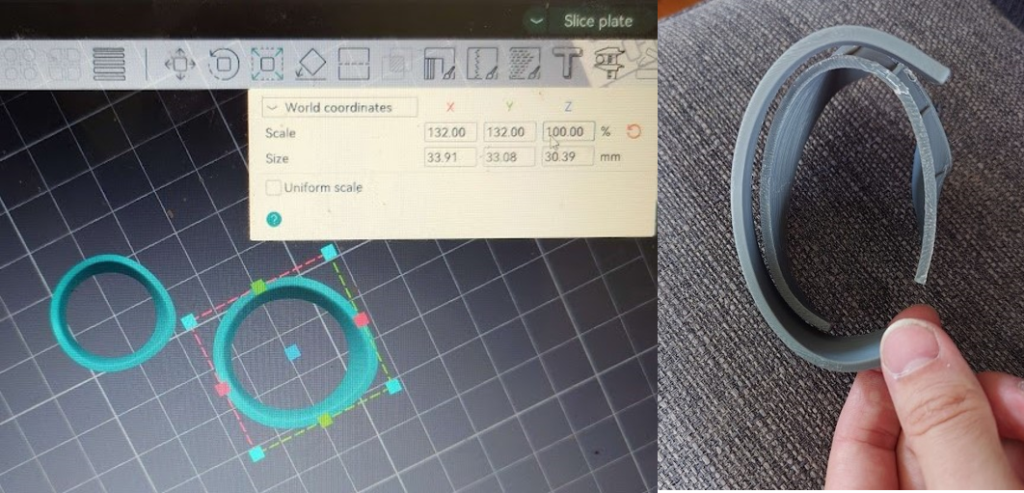
We also discussed the sizing of the pieces. What Milano sent was an arm for a certain hand, which was smaller than his. I’ll admit, I can’t work with an STL file as well as I would like, but I can scale the object along relevant axis in the slicer to suit. Each finger required adjusting and post print, I discovered the bracelet piece was much larger which I re-printed at a smaller size. Again, having pieces that don’t fit, we can’t be having that!
Layer Lines
The remaining pieces were printed with a 0.4mm nozzle, layer lines set to 0.2 which is highly advised for Cosplay parts. Even though 0.08 is clearly a smoother finish, they are more much more delicate parts. Having a piece or armour break mid-convention would be absolutely devastating for you and for me. We can’t be having that!
Failed prints
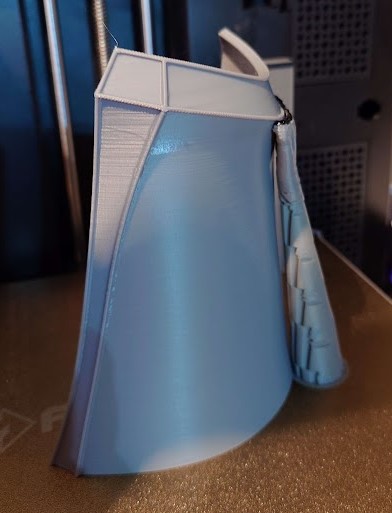
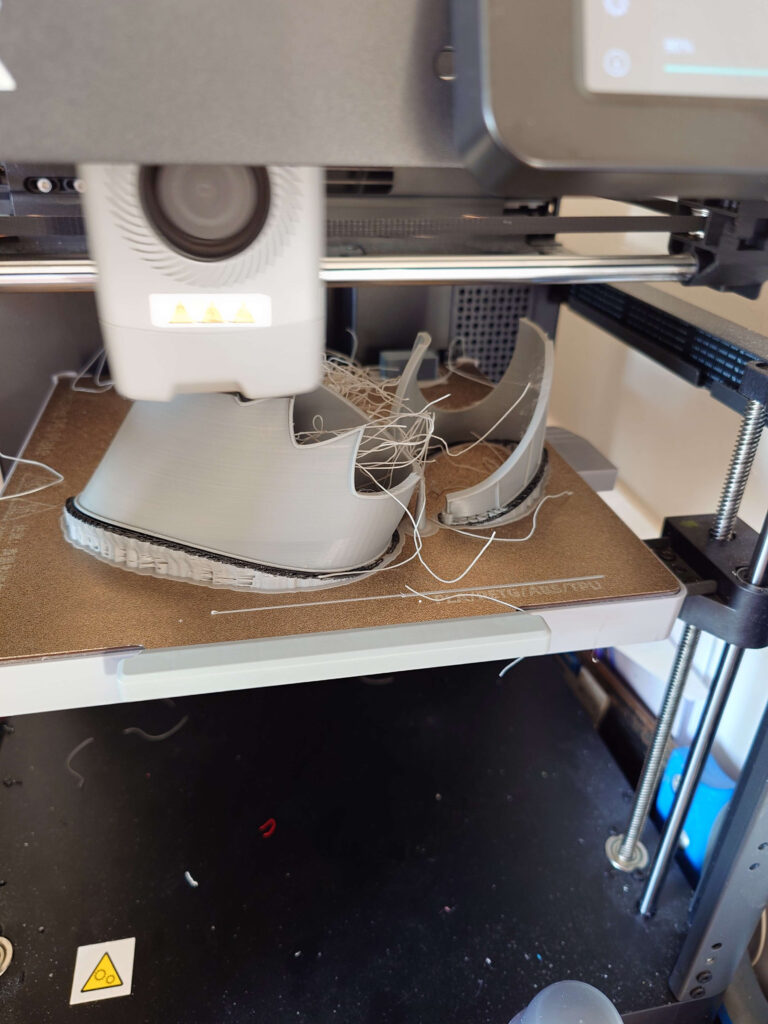
Failing prints will always suck, but there’s always something to learn from them. What did we not get right this time? So we can improve and get right every other time. A lot was learnt from this project. Anything that does fail, always comes from my pocket and not at my customers expense. Fortunately the other parts were recoverable.
Post Print care
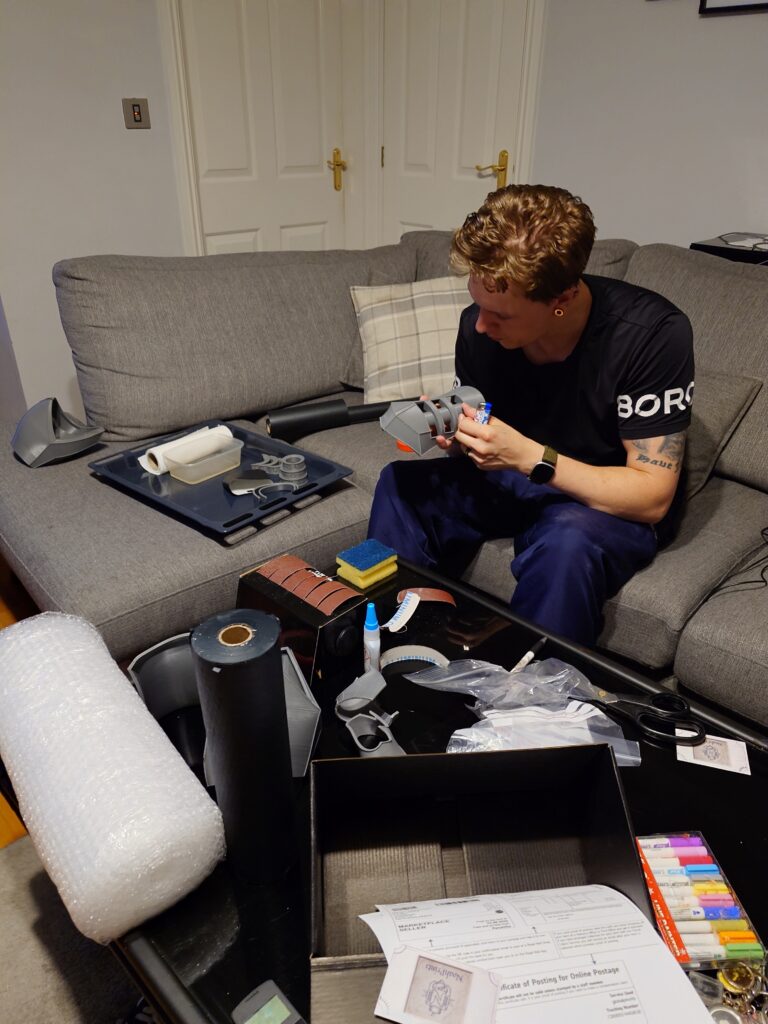
Every part is thoroughly inspected after printing. I check that all components fit together correctly, sand mating surfaces where needed, and carefully glue multi-part prints to ensure proper alignment. There’s no point in producing a high-quality print if the finished assembly doesn’t fit as intended.
My post-processing currently involves sanding with progressively finer grits, finishing at 320 grit. Combined with a 0.2mm layer height, this significantly reduces the visibility of layer lines and provides a much smoother surface. The result is less preparation work before priming and a better foundation for achieving a professional painted finish.
At the moment, I don’t offer a full finishing or painting service. Priming, additional sanding, applying further coats of primer, and painting are left to the customer. My goal is to provide a well-prepared, accurately assembled print that gives you the best possible starting point for bringing your project to life.
Review: The print turned out beautifully! The entire experience was extremely pleasant as well. Noah worked with me through every step of the process like: The quote, the resizing, the print itself and the shipping! He was also extremely nice and honest on when he made a mistake. Overall I’m very happy with the whole Experience!
250 euros sounds extremely fair for the whole print! the resizing was great and in general working with you was awesome!